
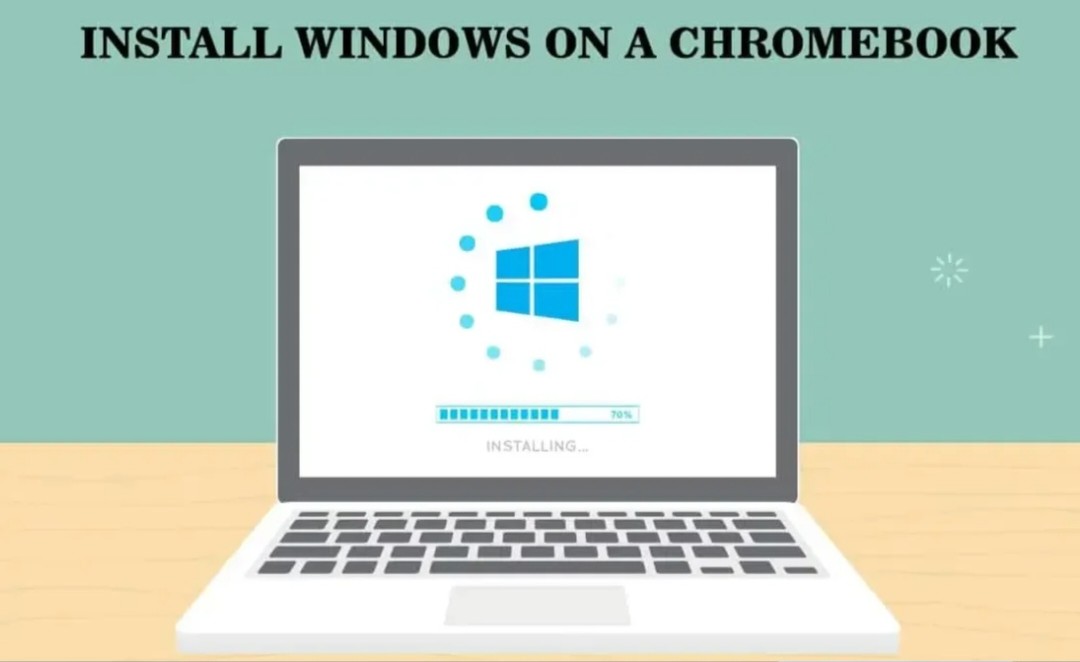
Installing Windows on a Chromebook can open up a whole new world of possibilities for users looking to expand the functionality of their device. While Chromebooks are known for their simplicity and security, some users may find the limitations of the Chrome OS to be too restrictive for their needs. By installing Windows on a Chromebook, users can access a wider range of software and applications that may not be available on Chrome OS. Additionally, Windows offers a more familiar user interface for those who are used to working with Microsoft products.
To begin the process of installing Windows on a Chromebook, users will first need to enable developer mode on their device. This can be done by pressing a specific key combination during the boot process, which will then allow users to access the Chromebook’s developer features. Once developer mode is enabled, users can then install a third-party tool such as ChrUbuntu or Crouton, which will allow them to run Windows alongside Chrome OS.
Before proceeding with the installation, users should be aware that there are risks involved in installing Windows on a Chromebook. This process may void the warranty of the device and could potentially cause issues with the hardware or software of the Chromebook. Additionally, users should be aware that installing Windows on a Chromebook may not be officially supported by Google or the manufacturer of the device.
Despite these risks, many users have successfully installed Windows on their Chromebooks and have found it to be a worthwhile endeavor. By following a comprehensive guide and carefully following the steps outlined by experienced users, users can minimize the risks associated with installing Windows on a Chromebook. Additionally, users should be prepared to troubleshoot any issues that may arise during the installation process and be willing to seek help from online forums or communities if needed.
In conclusion, installing Windows on a Chromebook can be a challenging but rewarding experience for users looking to expand the capabilities of their device. By following a comprehensive guide and taking the necessary precautions, users can successfully run Windows alongside Chrome OS on their Chromebook. While there are risks involved in this process, many users have found that the benefits of having access to a wider range of software and applications outweigh the potential drawbacks. Ultimately, the decision to install Windows on a Chromebook is a personal one and users should carefully consider their own needs and technical abilities before proceeding with the installation.
Understanding Chromebooks
Chromebooks are a popular choice for many users due to their simplicity and affordability. These devices are designed to be lightweight, portable, and user-friendly, making them a great option for students, professionals, and everyday users. Chromebooks run on the Chrome OS operating system, which is based on the Chrome web browser.
This means that most of the applications and programs are web-based, allowing users to access their files and data from anywhere with an internet connection. Chromebooks also come with built-in security features, such as automatic updates and virus protection, to help keep users’ information safe. Additionally, Chromebooks have a fast boot-up time and long battery life, making them ideal for on-the-go use. Overall, understanding Chromebooks can help users make an informed decision when choosing a device that fits their needs and lifestyle.
Installing Windows via Parallels Desktop
Installing Windows via Parallels Desktop allows users to run Windows operating system on their Mac computers. This software creates a virtual machine on the Mac, enabling users to switch between macOS and Windows seamlessly. This can be beneficial for users who need to access Windows-only programs or software for work or personal use.
Parallels Desktop provides a convenient and efficient way for Mac users to have access to the Windows operating system without the need for a separate computer or partitioning their hard drive. The software also allows for easy file sharing between the two operating systems, making it simple to transfer documents, photos, and other files.
Additionally, Parallels Desktop offers features such as Coherence Mode, which integrates Windows applications into the macOS desktop, and Snapshots, which allows users to save the current state of their virtual machine and revert back to it if needed. Overall, installing Windows via Parallels Desktop can enhance the user experience by providing a seamless way to access both macOS and Windows operating systems on a single device.
Prerequisites for Parallels Desktop
Parallels Desktop is a popular software program that allows users to run Windows applications on their Mac computers. However, before downloading and installing Parallels Desktop, there are a few prerequisites that users should be aware of. Firstly, users must have a Mac computer with an Intel processor running macOS 10.13.6 or later. It is also recommended to have at least 4GB of RAM, although 8GB or more is preferable for optimal performance.
Additionally, users will need a minimum of 500MB of disk space available for Parallels Desktop installation. Users should also ensure that their Mac has virtualization technology enabled in the BIOS settings. This feature allows Parallels Desktop to run more efficiently and smoothly. It is important to note that Parallels Desktop is a paid software program, so users will need to purchase a license in order to use it legally. Once these prerequisites are met, users can download and install Parallels Desktop to begin running Windows applications on their Mac computers seamlessly.
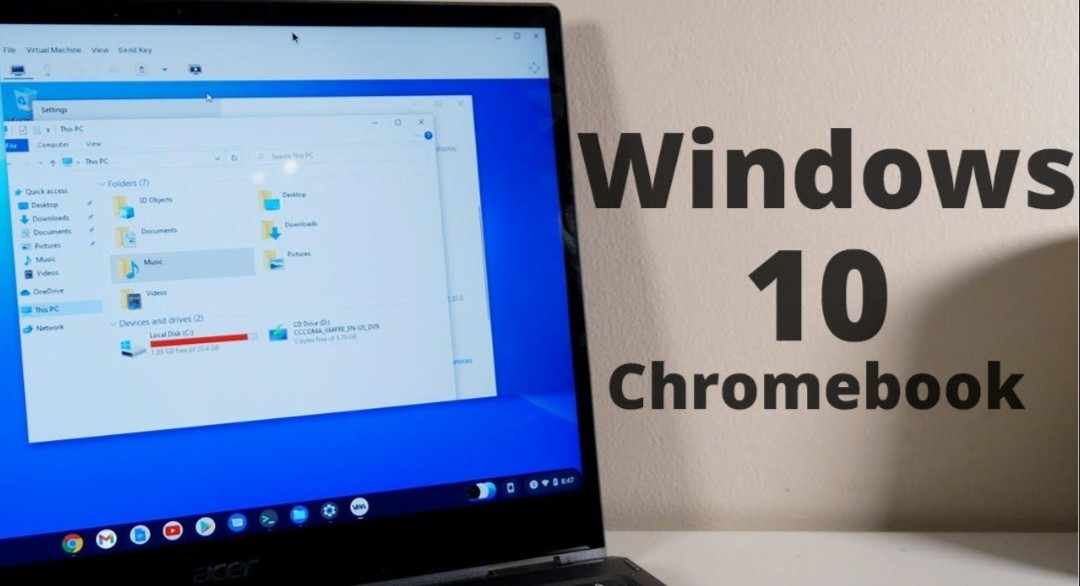
Windows Installation Procedure
The Windows installation procedure is a necessary step for many computer users who need to install or upgrade their operating system. This process involves several steps, starting with preparing the computer by backing up any important files and ensuring the necessary hardware requirements are met. Next, the user must obtain a copy of the Windows installation files, either through a physical disc or a digital download.
The installation process itself typically involves booting the computer from the installation media, selecting the language and other preferences, and entering the product key. The user is then guided through the installation process, which includes choosing the installation type, partitioning the hard drive if necessary, and waiting for the files to be copied and configured. Once the installation is complete, the computer will restart and the user will be prompted to set up their user account and other preferences.
Overall, the Windows installation procedure is a relatively straightforward process that can be completed by most users with basic computer knowledge. It is important to follow the instructions carefully to ensure a successful installation and avoid any potential issues or errors.
Compatible Windows Apps for Chromebook
Many Chromebook users find themselves in a predicament when it comes to finding compatible Windows apps for their devices. While Chromebooks are known for their simplicity and security, they do not natively support Windows applications. However, there are ways to work around this limitation. One option is to use a virtual machine software, such as VirtualBox or Parallels, to run a full version of Windows on your Chromebook.
This allows you to access and use any Windows application you need. Another option is to use CrossOver, a compatibility layer that allows some Windows applications to run on Chrome OS without needing a full Windows installation. Additionally, there are web-based alternatives to popular Windows apps, such as Google Docs for Microsoft Office and Pixlr for Adobe Photoshop. These alternatives may not have all the same features as their Windows counterparts, but they can still be useful for basic tasks. Overall, while finding compatible Windows apps for Chromebook may require some extra effort, it is certainly possible for users to access the tools they need to be productive on their devices.
Final Thoughts
As we come to the end of our discussion, it is important to reflect on the ideas and concepts that have been presented. Final thoughts are a crucial part of any conversation or debate, as they allow us to consider the implications and consequences of our actions. It is essential to take the time to carefully consider all aspects of a situation before making a decision. By doing so, we can ensure that we are making the most informed choice possible.
Final thoughts also give us the opportunity to reflect on our own beliefs and values, and to consider how they may have influenced our opinions on a particular issue. It is important to remember that everyone has their own unique perspective, and that it is important to listen to and respect the views of others. By taking the time to consider all sides of an argument, we can better understand the complexities of the issue at hand, and ultimately make more informed decisions. In conclusion, final thoughts are a crucial part of any discussion, and should be given the time and consideration they deserve.